HOW TO ¦ FAUX FRECKLES

30 April
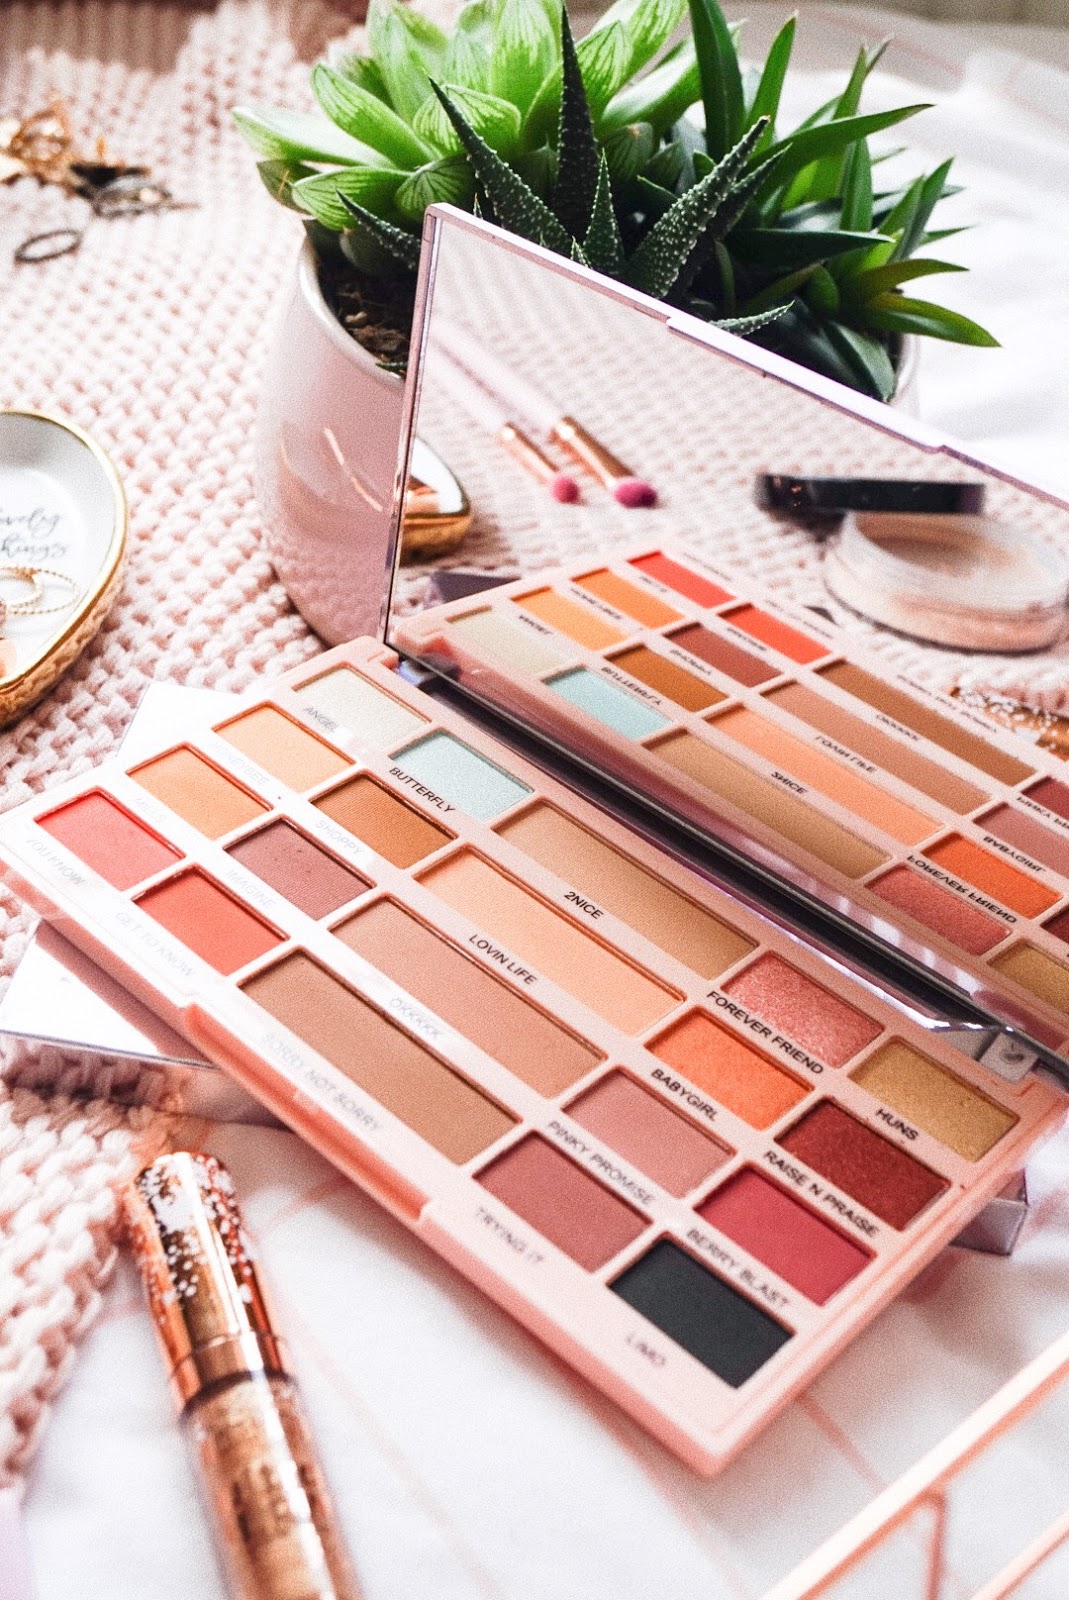
Faux freckles are totally a thing at the moment and I am all for them. Holiday skin is my absolute favourite - thanks to good old vitamin D, the freckles are in full force. In England however there just isn't enough sun to give my skin real freckles so I like to fake it on the odd occasion. It's a lot easier to make faux freckles look more natural than you probably think and I'm going to show you how in just 3 simple steps.


You can add faux freckles at any point after your base make up is done, I personally prefer to do them towards the beginning as the base hasn't had as long to set so they sit more naturally but you can do them as the last step, they're so easily corrected. All you need is either a thin brow pencil or brow pomade and a teeny little detail brush - I tend to use a pencil. I grab my HD Brow 'Browtec' in Vamp which is a dark brown and literally just start dotting them around my nose area and a few on my forehead just to bring them together as this is the main area real freckles tend to appear on my face.


With this brow pencil the pay off isn't too harsh if you use a light hand so I then just go in with my ring finger (as this is the finger which applies the least pressure) and pat them into the base products - I just continue to do this until I am happy with how they look.


Finally I go over them very lightly with the beauty blender I used to do my concealer just to make them look more natural and as if the foundation is sitting on top of the freckles like it would if they were natural.

Ta daaaa

Hunny Cosmetics & @imogenation_ Collaborations, are they worth it? ¦ TESTED & REVIEWED

23 April
If anyone has that 'dewy, glowing skin' look down to a T it is Imogen and I decided it was time for me to see if her products really are the reason for this. In case you're wondering who i'm talking about - Imogenation is Imogen Hudson, a beauty influencer with thousands of followers across her social media so it's no wonder her dewy skin is in demand. Imogen has bought out two brand collaborations, one with Revolution and the other with Lottie London - not only that she also has her very own eyelash brand 'Hunny Cosmetics' and I have tried/reviewed them all in this post.


Imogen X Revolution was the first collaboration she bought out and i'm not sure why it's taken me so long to pick this eye shadow palette up as it is pretty much all colours I wear on a regular basis and the pan's for the transition shades are so much bigger then the others which I love as they always run out so quickly in other palettes. Imogen herself always sticks to warm toned eye shadows as that's what suits her and I'm the exact same so I personally adore the shade range. The pigmentation of these shadows actually shocked me, there was a lot more colour pay off than i'd expected and they blended really easily. For £10 this is definitely a palette you should pick up if warm tones are your thing and you're looking for something affordable because it is honestly so pretty.


Hunny Cosmetics was her next release and this was one that I was in a battle with myself over whether I needed it or not and for so long I decided not. I am quite lucky to have quite long lashes naturally so when it comes to eyelashes I have to be quite specific because I need them long but I also like them wispy and that can be surprisingly difficult to find with lashes. Vlog after vlog I saw Imogen wearing her lashes and they always looked gorgeous whether it was with minimal make up or a full face so I went ahead and picked some up. I picked up the 'Princess Pie' and I will be picking up so many more pairs - I am in love. This style lash is long and wispy and exactly what I was looking for. They are really comfortable on the eye which I hadn't expected as they are 100% vegan Faux Mink so I originally thought they would be very plastic and scratchy but I was completely wrong. At £10 a pair they are a little pricey but they claim they can be re-used up to 20 times and if that is true then i'd say that's a totally fair price.


Imogen X Lottie London ' Ultra Glow Collection' - I mean, the name had me sold. If these products are going to get me closer to being as glowy as Imogen then I'll take it all. I really did purchase nearly all of it and i'm so glad, these products are so pretty yet so affordable. I have never been a cream highlight kinda girl but Imogen always makes it look so easy and flawless. The cream highlighter palette I prefer to use under my foundation as I get quite oily throughout the day so I tend to set my face and i'm just a little worried it wont sit nicely on top of powder. 3 out of 4 shades are actually pink toned which is perfect for my skin tone so I actually really like this palette as it helps to achieve the more natural 'from within' glow.

As well as the liquid highlighters I picked up the lighter shade of her loose highlighter as I don't actually own any other loose ones. I have only ever tried one in the past which actually put me off as it was a 'no going back' type of highlighter and I found it really difficult to get on with - you know the ones I mean, when you literally apply the tiniest amount and it's like a headlight is shining out of your cheek. Imogen's however is a lot easier to work with, it's build-able and a beautiful colour so you can achieve a highlight as intense as you'd like it.

The last two products I picked up were the Creme Eye-shadow in Cant Cope and the Gloss'd in Bee. Out of all of her collaborations and products these two are my least favourite, still pretty just not as impressive. The creme eye-shadow is a stunning colour and looks pretty on the eyes, you just need a little patience to get a good amount of product onto the applicator - I found no amount of swirling it around the tube made any difference I just had to keep dipping and build it up. The gloss is also a pretty product and it smells lovely - I just wasn't wow'd, but then with a £5 price tag I'm probably being a little too critical.


The Moisturiser Approved By Kylie Jenner's Make Up Artist ¦ Kiehl's Ultra Face Moisturiser

17 April
One step closer to skin Kylie? Yes please. I have never found a moisturiser that has really settled with my skin and that actually feels more beneficial than it does problematic, until I tried this moisturiser and I can totally see why Ariel Trejada (otherwise known as @makeupbyariel) recommends this one after La Mer. Of course we don't all have a Kardashian bank account so when I saw how reasonably priced Kiehl's was for such a gorgeous product I was so surprised.

In the past I have always been drawn to gel moisturisers as my skin can get quite oily but I didn't realise until recently how dry parts of my face can be and a gel formula just doesn't do anything. I was a little nervous about trying this moisturiser on my skin as it's a cream but when I tried it on my hand the skin instantly felt so much more hydrated and soft so I just took the plunge - I am SOOO happy I did. 


Kiehl's have definitely achieved the 'suitable for all skin types' with this moisturiser as it is a really light but nourishing formula but also doesn't feel overly oily or over nourish the skin and doesn't break me out. I'm talking feather soft skin after literally one application, it is my favourite part of my skincare routine as it makes my skin beautifully dewy but not greasy.

When I picked this moisturiser up I had also run out of my toner so I think this was a blessing in disguise as the Kiehl's Ultra Facial Toner is beautiful too. It's unlike any other toner I've tried as it's more of a milk formula which I love as it doesn't feel drying in the slightest, yet your skin is left feeling so clean. If you're in the market for it I would 100% recommend this product too.

I have been using this moisturiser for a couple of months now and my skin is so much better for it and yet there is still so much product left - for £26 for 125ml I think it is so worth it. If you're like me and want to trial it first there is a smaller bottle (75ml) available and then once you're hooked like I am (because I guarantee you will be) there is a 250ml available too.

You can get it here if you're interested (you will thank me)


ALEX STEINHERR x PRIMARK

14 April
When I heard the name Alex Steinherr I think Glamour Magazine and although she is no longer with Glamour the one thing that stands out in my head is the fact that this lady KNOWS skin care. I think a lot of people would say the same thing and you know that through the fact that it sold out literally within a few hours in some stores. Skincare can be pretty overwhelming and in some cases really expensive and it doesn't necessarily need to be that way and Alex has shown this through her collaboration with Primark - not only are they delightful and affordable they're also cruelty free.


Like I said skincare can be overwhelming and when it comes to my skin I find it pretty difficult to find products that don't break me out or that I find a genuine benefit from so I only picked up 4 products but now i'm wishing i'd bought the whole stand. I thought the best way for me to see if this skincare range works for my skin would to be to cover all bases - a cleanser, an eye cream, a sheet mask and the blemish stickers.

On my social media it is very rare that you will see me fresh faced but if i'm completely honest 90% of the time I am only wearing mascara, if that and so I was really hoping for a gentle cleanser that wouldn't break me out or dry my skin, it would simply leave my skin feeling fresh and remove any excess dirt my skin has picked up throughout the day. Alex's cleanser does just that and I now use this morning and evening - when I'm not wearing a lot of make up anyway. Although it will remove make up i'm not sure it is designed for a lot as I did find when I used it to remove heavier make up it required a few more cotton pads than the usual micellar water I use. This cleanser is really refreshing so first thing in the morning it is a dream and at £5 you really can't go wrong.


Secondly I picked up the Sleep Spa Every Night Eye Mask and I think this one might actually be my favourite. For this one I was intrigued by Alex's tip on the side of the box ' I developed this for myself to look less exhausted by morning! I wanted a light yet deeply hydrating and puff-reducing eye treatment. and it delivers!' - this is what sold me on this product - we all want to look less tired right? and Alex is someone who always looks so fresh faced and awake regardless of her busy schedule. As you can see from the name of this product it is one to be used at night time so it can work its magic. I'm not sure if its because I am guilty of never using an eye cream so it's a bit of a shock to my under eyes and they're absorbing everything I give to them but this eye cream leaves my under eyes incredibly hydrated and with this I look more awake - along with a gallon of coffee to make me feel it too. It is a gel formula that instantly absorbs into the skin and if you pop it in the fridge after you have used it at night to then re-apply in the morning it makes a real difference to the puffiness. At £4 i'm happy to stick with this product in my skincare routine.


Blemish patches - something I've always been sceptical about. With a £3 price tag I was sure these wouldn't do a thing when it came to a blemish but Alex has proved me wrong. They're not the most incredible patches in the world, my blemishes don't 100% disappear over night but i'm not sure this magic exists in any skin care range. I applied these to a blemish that was nearly healed and a slightly more angry blemish which was beginning to mark its territory - the nearly healed one it didn't do anything for, however the angrier blemish was a lot less angry, the redness had gone and the bump was reduced. Not bad for a Primark price tag ay?

I have never been the biggest fan of sheet masks as I always find them too slimey, they leave too much product on the skin which can leads to breakouts for me and they're inconvenient when you are mid pamper and you fancy a sip of your tea - i'm sure you can relate. The Power Mask from the Pump & Glow range which claims to be 'an intense re-plumping dose of hydration' just sounded too good to pass, so I gave it a go. It has 2 steps to this mask so in my mind it was a liquid in one section and a perhaps a drier sheet than normal for you to apply your desired amount, I was wrong. After applying the step one liquid onto my skin I opened the sheet step to find even more liquid on the mask and if i'm honest I made a bit of a mess on my side because of this. I left it on my skin for around 15-20 minutes before removing it and although it says to leave the excess liquid on your skin and massage in, there was so much it just wasn't possible for me. Instead I took a cotton pad and wiped off the majority before massaging the tiny bit i'd left into my skin. My skin felt nice afterwards but the next morning WOW my skin has never felt so soft and hydrated, the small mess was 100% worth it and no breakouts occurred so I will definitely be picking up a few more of these. Again a complete bargain for such impressive results at £3.

I am desperate to try the Pollution Solution Exfoliating Pads and the Sleeping Mask, have you tried any of her skincare line? If so i'd love to hear which products you would recommend.


STEP BY STEP ¦ HOW TO LAYER COLOURFUL EYE SHADOWS / CUT CREASE

11 April
If you'd put a colourful eye palette in front of me a year ago I would've passed it right back as there was no way I believed I could create such a colourful look so easily. When it comes to eye make up I always thought the best way to create a seamless look was to start with the more natural shades and gradually build up and don't get me wrong this works but over the past few months I have stepped out of my comfort zone a little and tried much bolder eye looks and my old shadow habits just don't give the outcome I was trying to achieve. Instead after watching a few tutorials I have switched up my eye shadow application to starting off BOLD and the outcome is so much more colourful and intense.

(products photographed were used to create the rest of the make up look along with a few others which are tagged in my insta post for this look)

SHOCK it's another look using the Morphe 35B palette, but i'm obsessed. I thought I would share with you a start-finish step by step on how to layer beautiful coloured shadows easily in a way that doesn't take up a lot of time.


To start you want to apply the boldest colour you're going to be using and in my case this was red and pack this colour into your crease using quite a small and dense:


Then you want to apply a colour that will blend nicely with the shade you've already applied so it'll appear more seamless, in my case this was orange. Again pack on the shade but at the same time you want to blend it in small circular motions without going too far up the eyelid with a still a small but slightly fluffier brush:


I like to stick to just 3 shades when blending upwards so finally I picked up a yellow on a slightly bigger fluffier brush as this is a colour that is easier to use as a transition to the colour of my skin, of course you can use any shade you like just be sure to blend, blend, blend:


At this point I like to cut the crease as this gives me a fresh palette to work on on my eyelid. I like to do this with a concealer - I tap a small amount into the centre of my lid using a flat brush and open my eye until it touches my crease. As you can see from the below photo this gives me an out line for exactly where to cut my crease:


Once you have used a flat brush to go along the line of your crease, apply the concealer over the lid to about 3/4 of the way across and set with a light, matte and almost white shadow:


Now it is time to apply the 3 shades across your lid in a 'rainbow' like affect, start with the boldest shadow again as this will lead off from the shadow you've already applied. Then go in with the same shadow you blended from this on the lid, finally followed by the yellow/lighter shade you have used and pack it on the rest of the 'blank canvas':


On the lightest shade I like to apply a shimmer to make it stand out a little bit more so in this case I used the yellow shimmer and just packed this onto the yellow shadow using my finger. I then just grabbed a small amount of cleanser on a folded cotton pad and used this to tidy the edge into more of a wing:


To finish the look I applied the rest of my face make up before blending the bold shade across my lower lash line. You don't need to add any glitter but I couldn't help myself - if you wish to you can use a tiny amount of eyelash glue and tap it onto your desired glitter area before pressing on the glitter itself:


The only other thing to do is to add your lashes/mascara and VOILA.

I really hope you found this helpful and i'd love to know if you try out this look.


Hourglass Vanish Seamless Finish LIQUID Foundation

07 April
Back in 2016 my go-to full coverage foundation for a long time was the Hourglass Vanish STICK Foundation which I did post a full review on here, however as the months got colder and my skin got slightly paler the colour I was matched with for this foundation just didn't work for me anymore and it started to edge towards the back of my drawer and hasn't moved since. When I saw that Hourglass had bought out a liquid version I had to pick it up when I passed the stand in Liberty's. Hourglass describe the foundation like so - "This innovative, weightless formula is the future of foundation – just half a pump is all you need to achieve complexion perfection. Coated pigments offer smooth, second-skin, long-wearing application without drying out skin – eliminating the need for primer – while light-refracting micro-spheres blur imperfections for a soft-focus finish." They weren't wrong, it really is luxurious. 


I'm the type of girl that will use primer on the daily as my t-zone can get quite oily and my pores are pretty visible, so when the lady told me I shouldn't alongside this product I was really intrigued to see how it would work on my skin. I was pleasantly surprised by the appearance of this foundation, my pores were less visible, my skin was fairly matte and the coverage was impressive from the small amount I used. They recommend that you only need half a pump for your whole face, this is one thing I don't believe as it took one pump to create a medium coverage base.


Although they say no primer is needed you do need to make sure your skin is well moisturised as it can cling to any dry patches if not. I know I said I get an oily t-zone however my cheeks can get quite dry so I have been applying Laura Mercier's Foundation Primer as it's almost like a second moisturiser to me because it is full of vitamins and this foundation doesn't cling to it as it's so lightweight.


The first time wearing this I set the foundation with my everyday pressed powder which still left a flawless finish, however after a couple of hours the area around my nose really started to crease and move away so the foundation started to look a little patchy. I didn't make this mistake the 2nd time - this time I took a loose powder and pressed it into the small creases around my nose and also my smile lines and left it there for a few minutes to ensure it was completely set. I thought this may start to make the foundation cakey but I was completely wrong - the wear test the second time around was a complete success and I have been wearing this foundation every time I have worn make up.

Before:


The Foundation Alone:


With Products On Top:


Let's not forget to mention how gorgeous the packaging is. It is so elegant and looks super expensive - which it is - this is the one downside, the price tag. This foundation retails for £51 a bottle which is kind of ridiculous when you think that it's just a foundation but when you take into consideration the quality of the product along with the fact that you don't need a primer with it, you're essentially getting the two products in one. This made me feel less guilty about purchasing it, although my bank balance didn't thank me regardless. Let's just say I hope this foundation lasts me the 18 months the lady advised me it would.

You can pick this foundation up here.

Have you tried this foundation? Let me know your thoughts in the comments.


JACLYN HILL x MORPHE PALETTE ¦ GOLD FOIL WING

03 April
With Jaclyn being like the queen of the beauty industry when I saw this collaboration it was a MUST have and I'm so glad I purchased it. It has the perfect pigmentation as expected from Morphe with the creativity and beauty in the colours chosen/created by Jaclyn. I chose to do a fairly simple look to show that anyone can use this palette, you don't have to be super creative to pull of a pop of colour on the lids. Out of all Morphe palettes, along with the 350 this one is my absolute favourite purely for the range of shades - you can go cool toned, warm toned, a pop of colour, really intense or simply natural.


FACE:
Topshop Long Wear Mattifying Primer
Topshop Long Wear Liquid Foundation in Meringue
Makeup Revolution Concealer in C3
Collection Sheer Loose Powder in Translucent
Kiko Sparkling Holiday Baked Powder in 04 Sienna (limited edition)
Nars Deep Throat Blush
Anastasis Beverly Hills x Amrezy Highlighter
Mac Fix+


EYES:
Jaclyn Hill x Morphe Palette - I used a mixture of the 4 light brown shades as my transition then I went in with the matte turquoise colour at the bottom of the palette. Once it was all blended smoothly I went over the top of the turquoise with the shimmery shade next to it in the palette.
Gold Foil from Ebay - This foil is extremely fiddly and really tested my patience but I was so pleased with how it looked in the end. I simply stuck it where I wanted it using Duo Lash Glue.
Maybelline Lash Sensational Mascara


BROWS:
Benefit Brow Contour Pro in Brown Light
Benefit Gimme Brow in Shade 4

LIPS:
Kiko Everlasting Colour Precision Lip Liner in 420
Anastasia Beverly Hills Liquid Lipstick in Stripped